Seamless Water Softener Installation for Homes
Water softener systems are essential for improving water quality by reducing mineral content, such as calcium and magnesium, which can cause scale buildup and reduce appliance efficiency. Proper installation ensures optimal performance and longevity of the system.

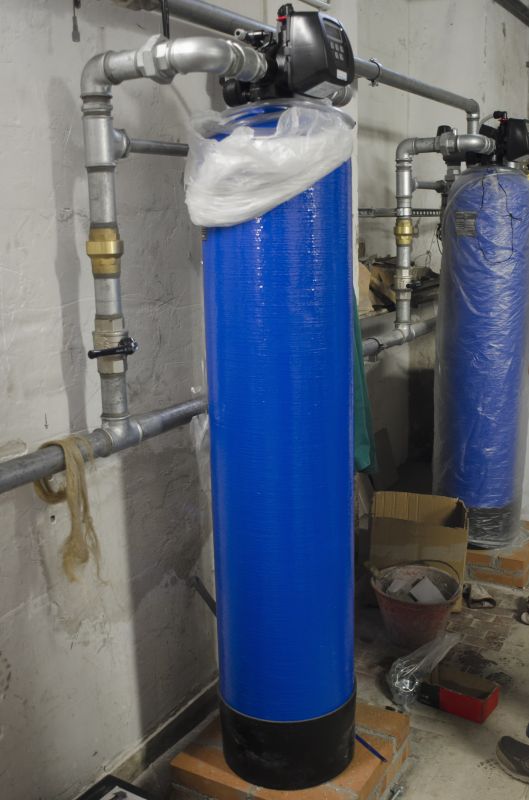
Installation involves connecting the system to existing plumbing to ensure effective water treatment.
Water softeners effectively remove minerals that cause hard water issues.
Most systems use salt to regenerate and maintain soft water flow.

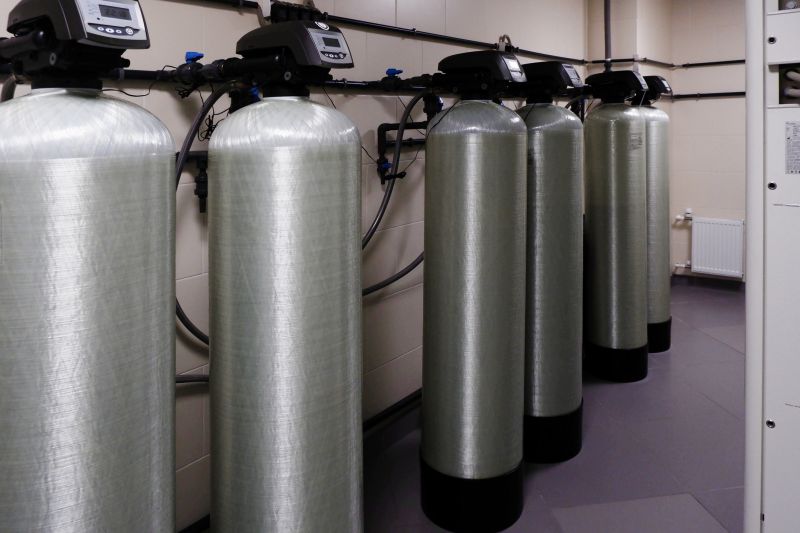
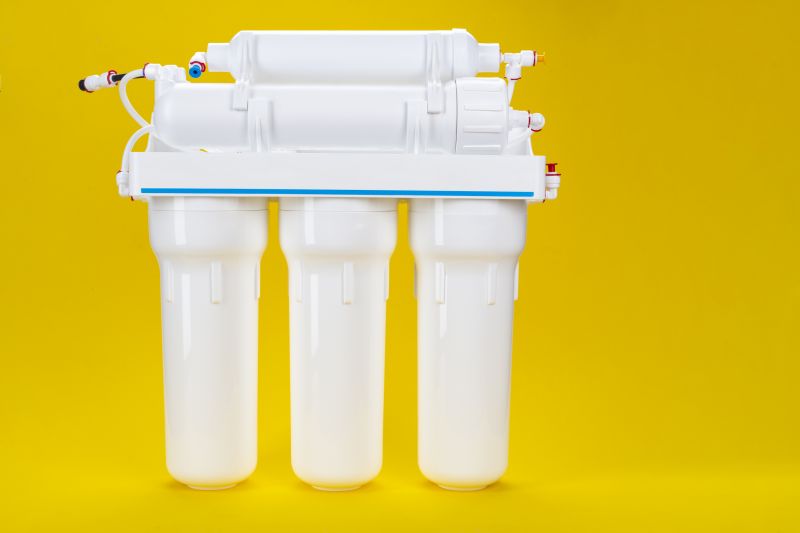
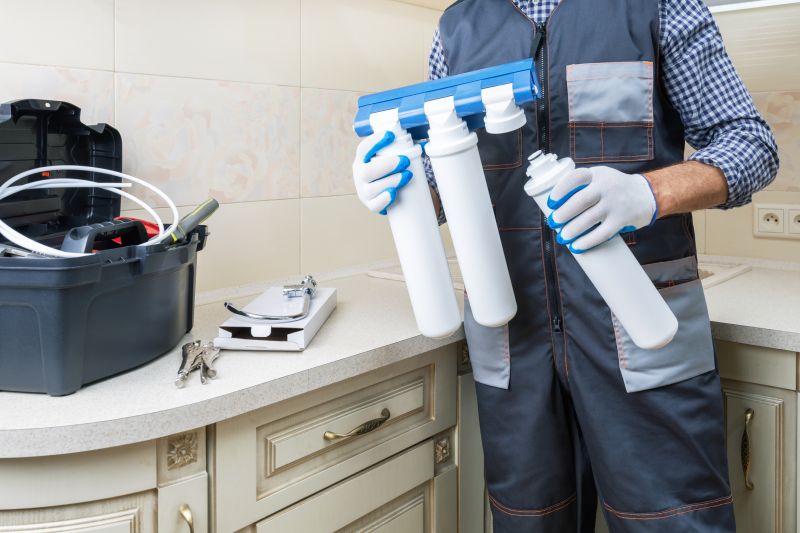
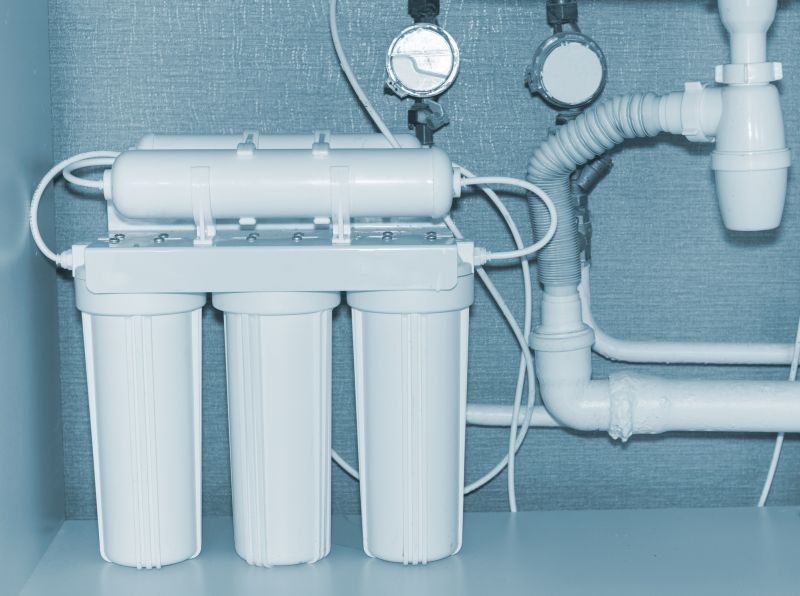
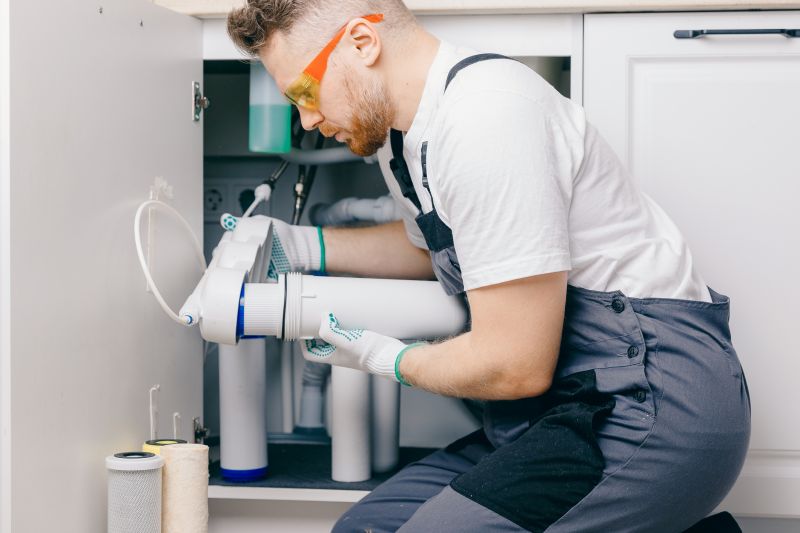
Tools and components used for professional water softener setup.

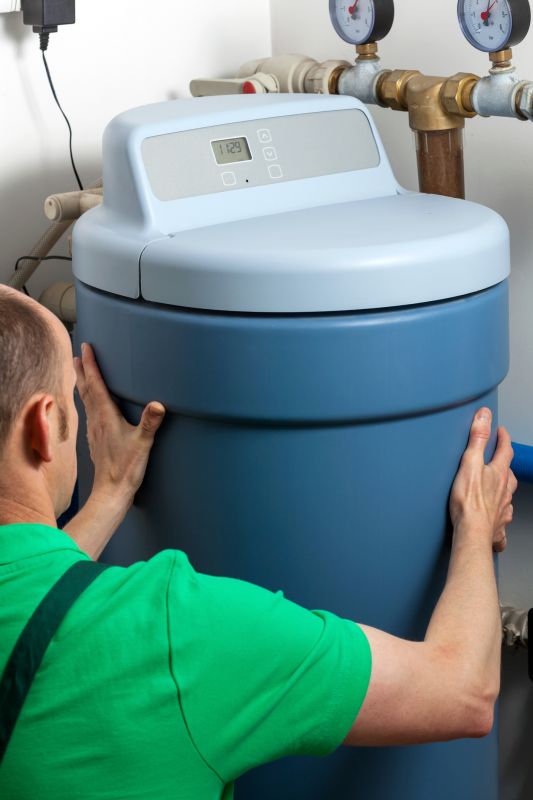
Securely connecting the softener to household water lines.
Configuring the system's control valve for efficient operation.
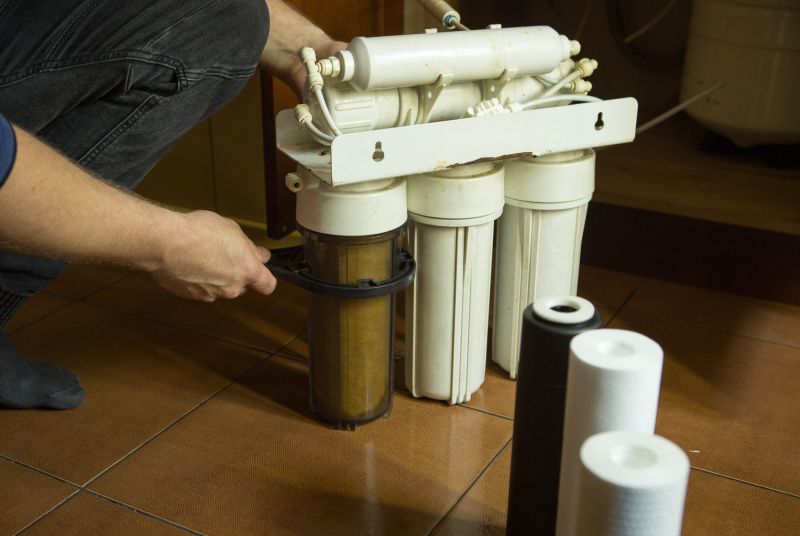
Proper drainage setup to handle regeneration waste.
Allows for maintenance without disrupting water supply.
Ensuring safe wiring for system operation.
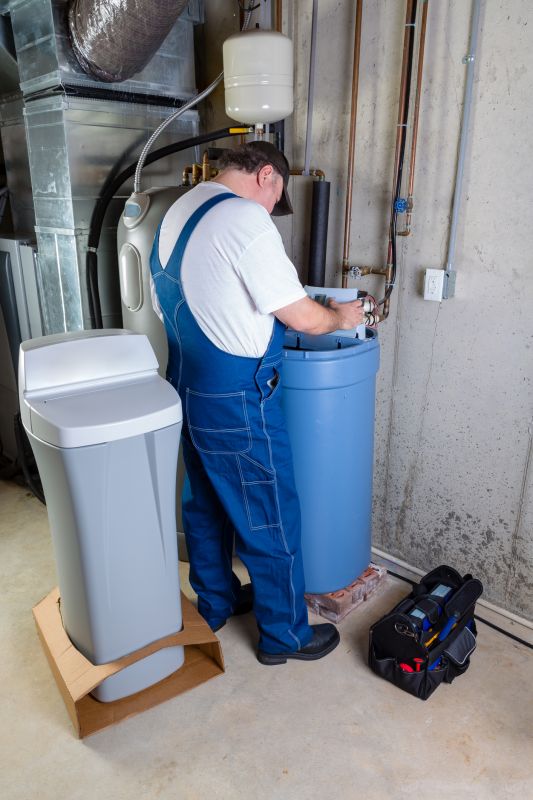
Assessing plumbing and space requirements.
Verifying system functionality and water quality.
Ensuring all connections are secure and operational.
Statistics show that installing a water softener can significantly improve water quality, reduce appliance repair costs, and extend the lifespan of plumbing fixtures. Many residents notice softer skin and hair, and less soap scum buildup after installation.
Benefits of Water Softener Installation
A water softener system reduces mineral buildup, improves soap efficiency, and protects appliances from scale damage. It can also lead to softer laundry and better-tasting water.
What to Expect During Installation
The process typically involves assessing the plumbing, selecting the appropriate system size, connecting the unit to the water supply, and configuring the controls. The installation usually takes a few hours, depending on the home's plumbing setup.
Installation Duration
Professional installation generally takes between two to four hours. Factors influencing duration include the complexity of existing plumbing and the specific system chosen.
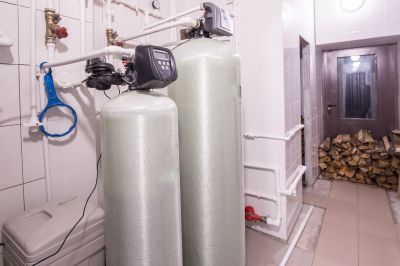
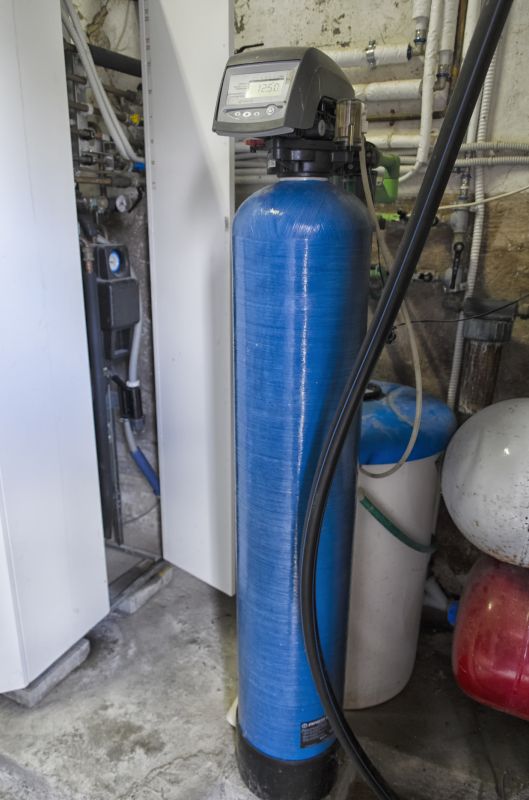
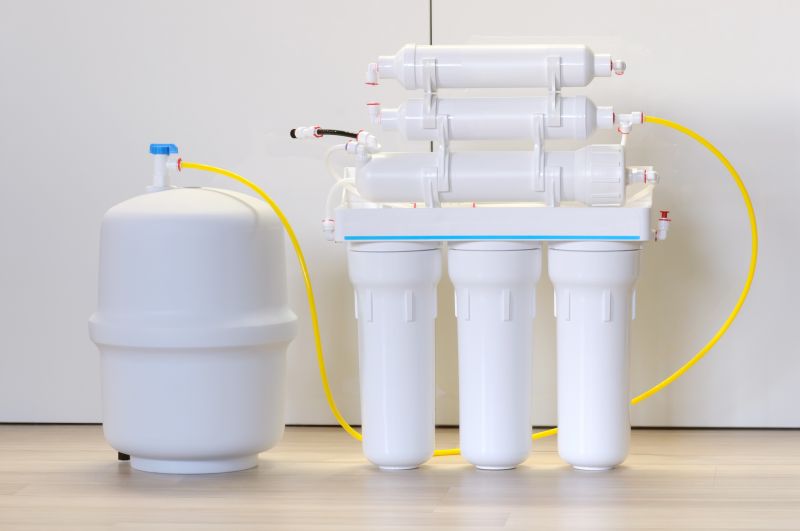
A professionally installed system ready for operation.
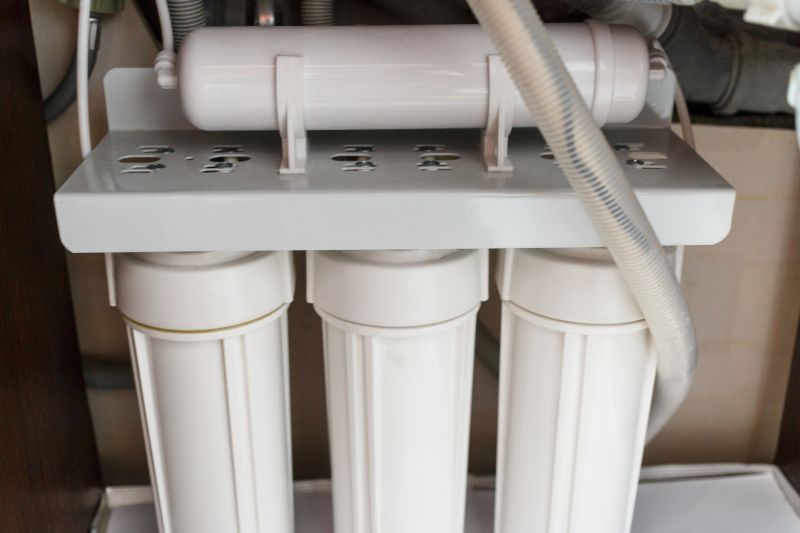
Location where the softener connects to household water lines.
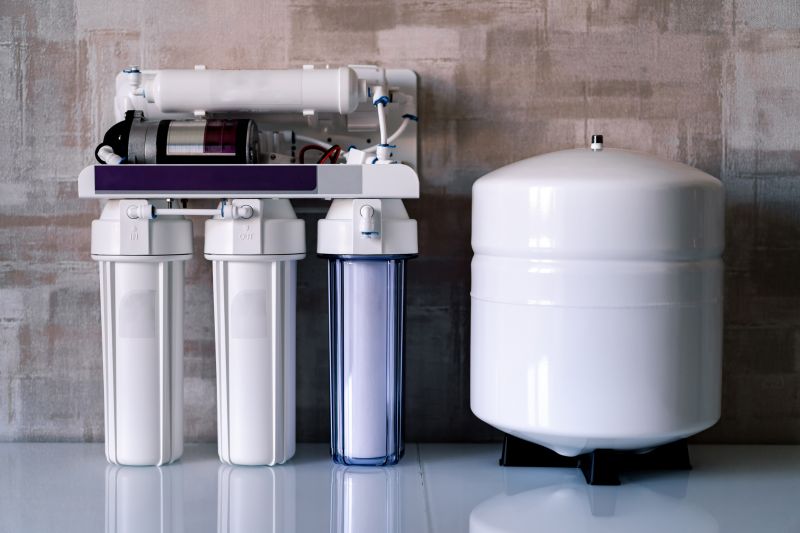
Configured for optimal regeneration cycles.
Properly routed for waste water removal.
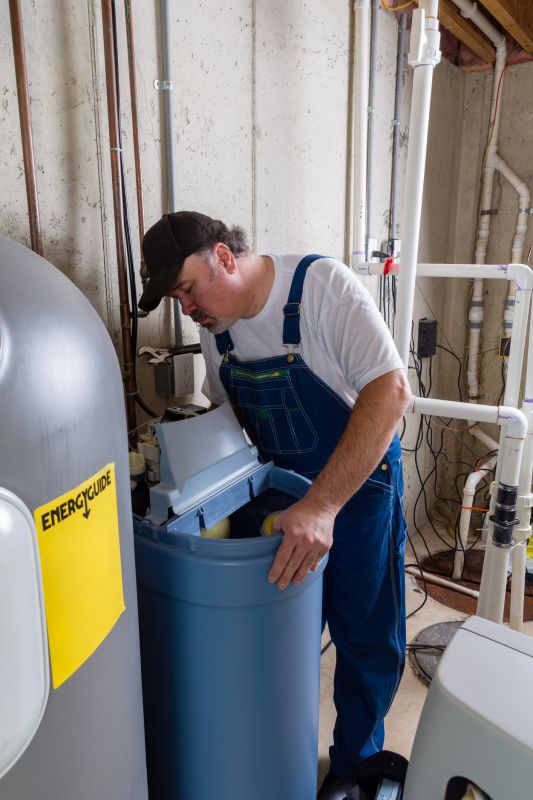
Designated space for salt refilling.
Verifying water quality and softening performance.

Ensuring all connections are secure and system functions correctly.
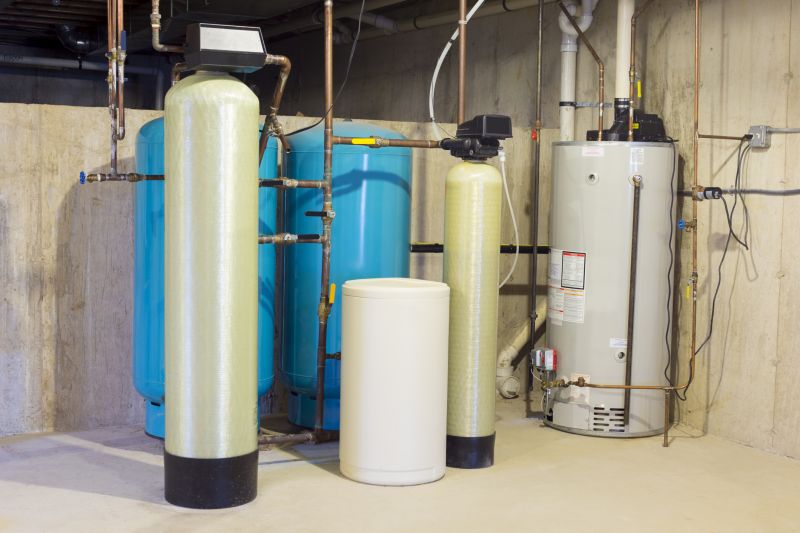
System ready to provide softened water.
Getting a water softener system installed can enhance water quality and protect household appliances. To receive a detailed quote tailored to specific needs, contact the service provider by filling out the provided contact form.